

We had some family stay with us this past weekend and my sister-in-law, Alissa, thought that we would love this soup. So we rounded up the ingredients and made some naan to go with it. It was sooooo good. Last fall I had attempted a pumpkin coconut soup and really didn't like it, but she said this one was good, and I can trust her taste! The one I made last year had lime juice in it and it totally ruined the flavor (we ended up getting a pizza or something cause we couldn't even gag it down). But this soup was a total hit for the whole lot of us at the house last weekend! It has a slight hint of heat from the turmeric and red pepper flakes, which seemed to really make the soup. I really loved cooking the onions in coconut oil too, it added so much flavor!
Since it's pumpkin season and soup season I thought this was the perfect recipe to share! I hope you'll enjoy it as much as we did! Thanks for introducing us to this soup, Alissa! It will be a family favorite from here on out.

Pumpkin Coconut Curry Soup
Ingredients:
¼ cup coconut oil
1 cup yellow onion, chopped
1 clove garlic, minced
3 cups veggie or chicken broth
1 teaspoon curry powder (I use yellow)
½ teaspoon salt
¼ teaspoon ground coriander
¼ teaspoon crushed red pepper flakes
¼ teaspoon turmeric
pinch of Saigon cinnamon
1 (15 ounce) can 100% pumpkin puree
1 cup coconut milk
Directions:
Heat the coconut oil in a stock pot over medium-high heat. Stir in the onions and garlic and cook until the onions are translucent, about 5-7 minutes. Mix in the veggie/chicken broth, curry powder, salt, coriander, crushed red pepper flakes, turmeric, and cinnamon. Cook and stir until the mixture comes to a gentle boil, about 10 minutes. Cover, and boil 15 to 20 minutes more, stirring occasionally. Pour this portion of the soup into a blender, filling only half way and working in batches if necessary; process until smooth. Return to a pot and whisk in the pumpkin and coconut milk. Cook another 5 minutes to heat through before serving.
Recipe Source: my sister in-law, Alissa.


.JPG)
.JPG)
.JPG)
.JPG)
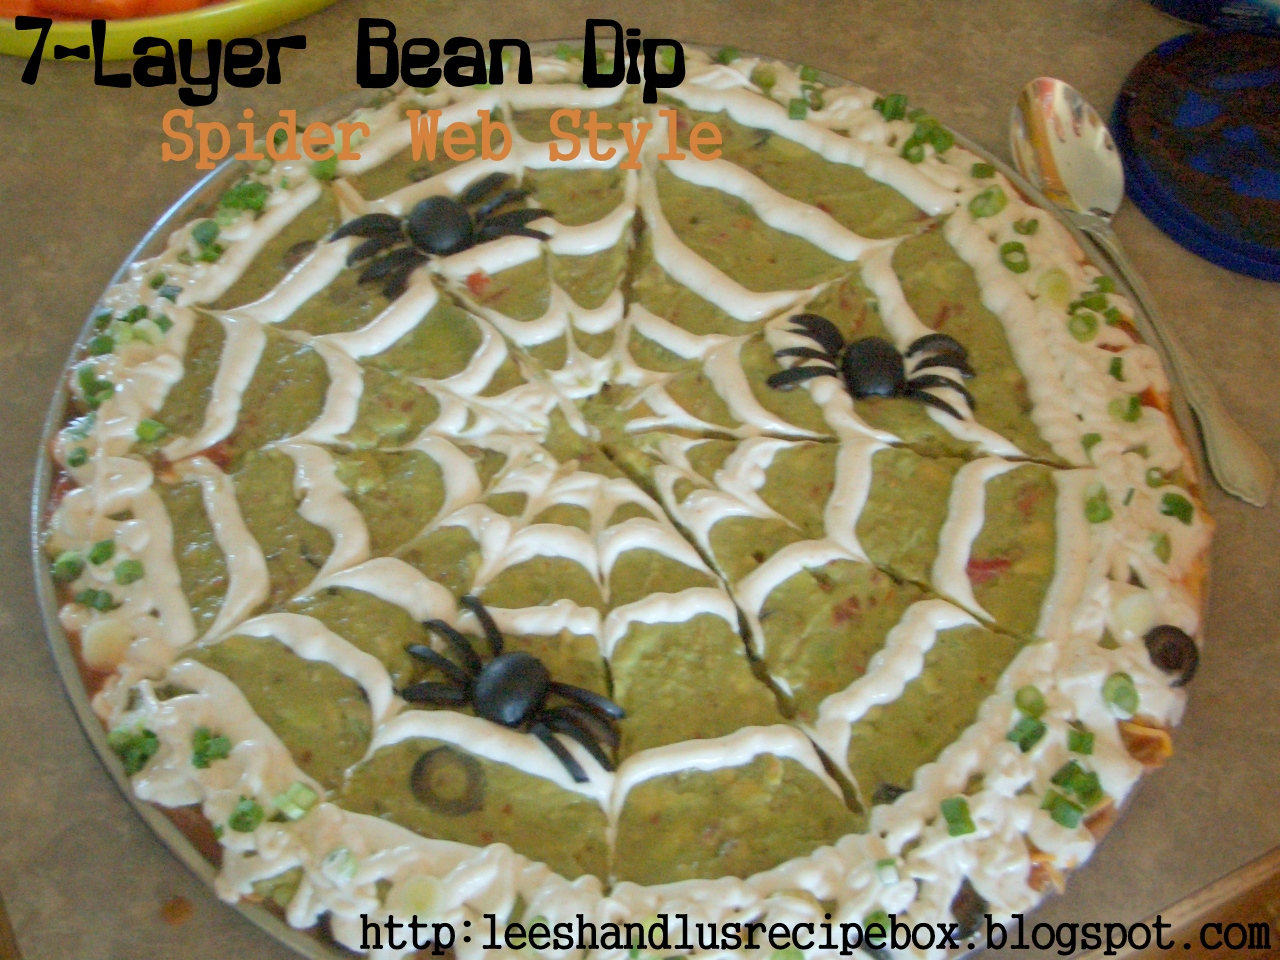
.JPG&description=7-Layer%20Bean%20Dip%20%7BSpider%20Web%20Style%7D%20%20-%20From%3A%20Leesh%20%26%20Lu%26%23x27%3Bs%20Recipe%20Box)


