

If you are thinking: 'zucchini with chocolate....is she out of her mind?!?!?!', well, just trust me. I hope after trying any of my other recipes that you do trust me. This recipe is a classic, it's a brownie recipe my mom made for us growing up. And if you are worried about green stuff with chocolate, don't be, you won't even know there is zucchini in them. The zucchini makes them moist and luscious! And to top it off they are frosted in a creamy, milk chocolatey frosting, which makes these brownies 'out of this world'. They are dreamy, really! Mmmmmmmmmmmm.
When you try them, let me know what you think!
When you try them, let me know what you think!
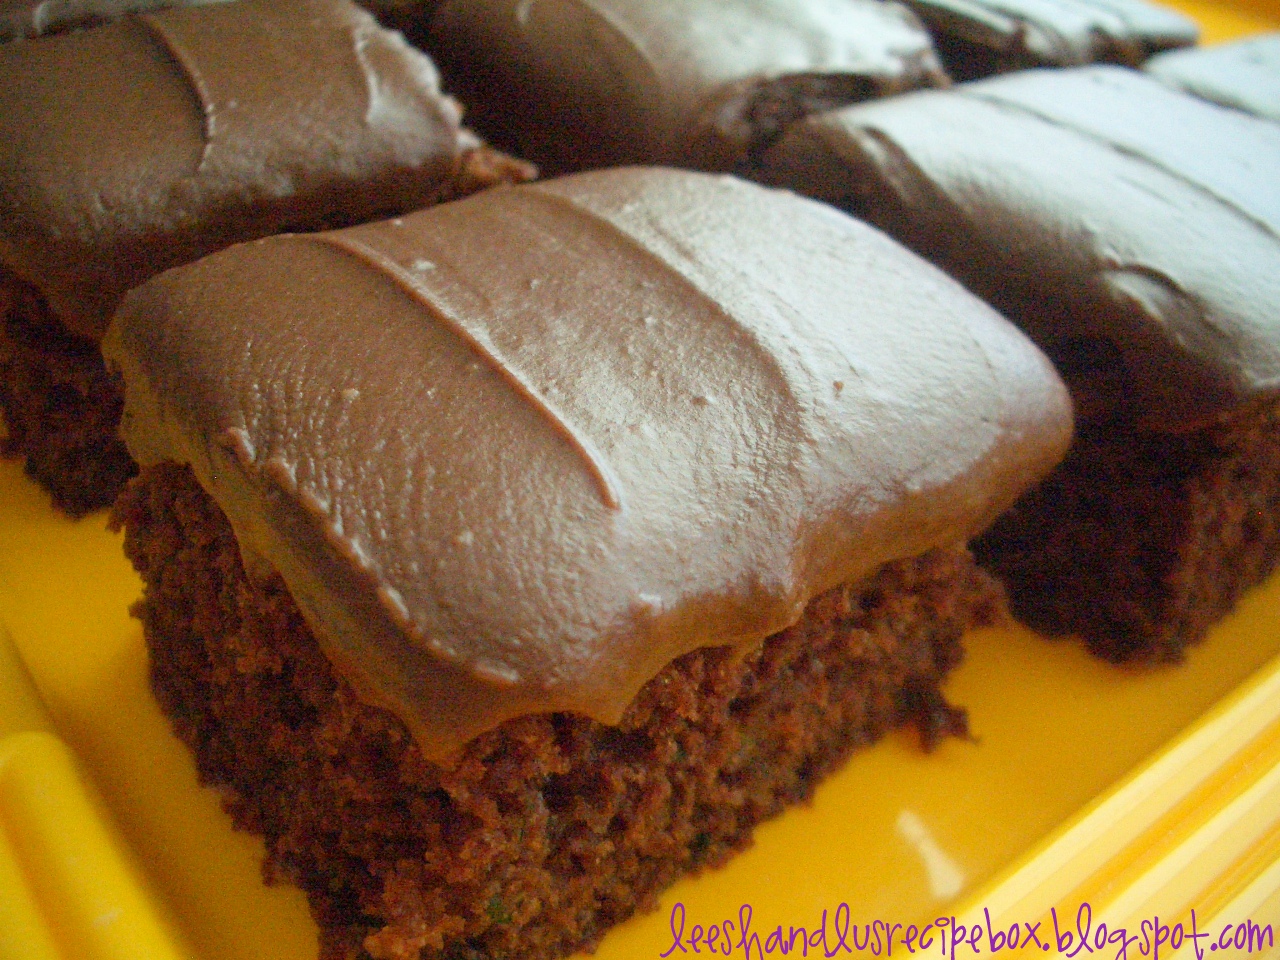
Zucchini Brownies {with Creamy Milk Chocolate Frosting}
Printable Version
Yield: 1 9x13 size pan of brownies Ready in: 1 hour
2 cups all-purpose or whole wheat flour (or ½ of each)
1 ½ cups sugar (can reduce a little if you are counting calories)
1 teaspoon salt
1 ½ teaspoons baking soda
¼ cup cocoa powder
1 egg
¼ cup oil
2 teaspoons vanilla
3 cups grated zucchini (coarse or fine works great, I freeze zucchini in freezer bags in 3 cup increments - if you don’t have that much, you can use applesauce until you’ve reached 3 cups)
¼ cup chopped nuts (optional....pecans or walnuts are best)
Grease a 9 x 13 size cake pan. Preheat oven to 350 degrees.
In a medium size mixing bowl combine the following: flour, sugar, salt, baking soda, and cocoa powder. In another medium size mixing bowl combine the following: egg, oil, vanilla, and zucchini. Add dry ingredients to the wet ingredient mixture along with nuts if you’d like, and mix until combined (don’t over mix, just mix til it’s all moist).
Pour brownie mixture into greased pan and smooth with rubber spatula. If you don’t spread it all the way to the edges then it doesn’t tend to climb the sides of the pan. So just spread close to the edge and it will move over as it gets hot in the oven. This makes for prettier brownies that are more evenly shaped when cut into squares. Bake in preheated 350 degree oven for 45 minutes. Test with toothpick when finished, if it comes out clean then they are done. If not, bake a few more minutes and test again. Cool completely before frosting.
Creamy Milk Chocolate Frosting
¼ cup butter, melted
⅓ cup cocoa powder
2 cups powdered sugar
¼ cup milk (more if you want it thinner - add a teaspoon at a time)
dash of salt
Melt butter in a small mixing bowl (microwave safe), add cocoa powder and stir until smooth. Add powdered sugar, milk, and salt and stir until smooth.
Frost your brownies and enjoy!
Recipe Source: Diana K.


